Getting Started
This guide walks you through setting up GLHF for local development.
Prerequisites
- Node.js 18.x–20.x
- Yarn 4 (the repo uses Yarn PnP)
Clone & Install
git clone https://github.com/glhf-lab/glhf.git
cd glhf
Backend Setup
- Install dependencies:
cd backend
yarn install
- Create your environment file:
cp .env.example .env
- Generate the required secrets and paste them into
.env:
echo "APP_KEYS=$(openssl rand -base64 16),$(openssl rand -base64 16),$(openssl rand -base64 16)"
echo "API_TOKEN_SALT=$(openssl rand -base64 16)"
echo "ADMIN_JWT_SECRET=$(openssl rand -base64 16)"
echo "TRANSFER_TOKEN_SALT=$(openssl rand -base64 16)"
echo "USER_EMAIL_HMAC_KEY=$(openssl rand -base64 32)"
echo "NEXTAUTH_SECRET=$(openssl rand -base64 32)"
echo "ENCRYPTION_KEY=$(openssl rand -hex 16)"
- Start the backend:
yarn develop
-
Open
http://localhost:1337/adminand create an admin user. -
Stop the backend, import the seed data, then restart:
# Ctrl+C to stop
yarn import
yarn develop
Frontend Setup
- In a new terminal, install dependencies:
cd frontend
yarn install
- Create your environment file:
cp .env.example .env
-
Copy the
NEXTAUTH_SECRETvalue from the backend.envinto the frontend.env— they must match. -
Create a Strapi API token for the frontend auth flow:
- Go to the Strapi admin: Settings → API Tokens
- Click Create new API Token
- Name:
Next Auth - Duration: Unlimited
- Type: Custom
- Permissions:
Verification-token: create, verify, findOneandUser-permissions.Auth: getJwtFromEmail - Save and copy the token into
STRAPI_PASSWORDLESS_TOKENin the frontend.env
-
Start the frontend:
yarn dev
The app is now available at http://localhost:3000.
No email server?
If no SMTP server is configured, sign-in magic link URLs are printed to the backend console.
Verify It Works
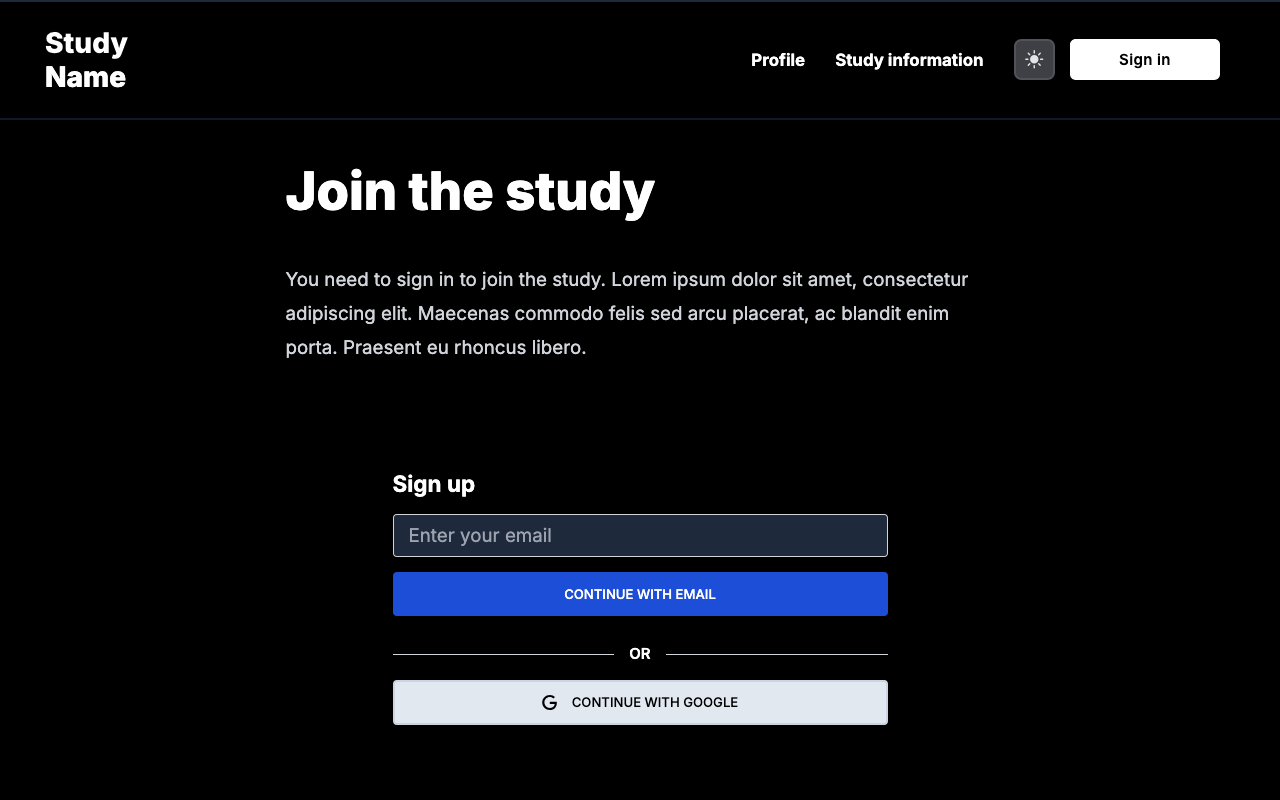
- Visit http://localhost:3000 and sign in with an email address
- Check the backend console for the magic link URL
- Click the link to complete sign-in
- You should see the participant dashboard
Configure Your Study
With the app running, open the Strapi admin at http://localhost:1337/admin to configure your study — name, consent text, pages, and more. See CMS Content for a full guide on what each content type controls.
Next Steps
- Architecture — Understand the system components
- CMS Content — Configure study name, pages, and consent text
- Environment Variables — Full configuration reference
- Steam Integration — Enable Steam account linking